All architecture requires a site and context. With this in mind we will construct a very simple site for our building to sit on.
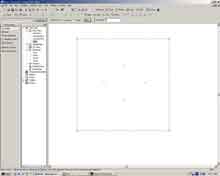
From the Site Sidebar select the Toposurface tool.
The Toposurface object creates a ground plane by literally stitching a series of three-dimensional points together. This technique allows for the creation of very complicated site typology without the need to construct complex shapes.
Select the Point tool from the Toposurface sidebar. Click on all four corners of the property box to place four toposurface points. Doing so defines the profile for the site.
With the Modify tool select the north-west (top-left) point.
In the toolbar an elevation textbox will appear. In this box type 2000 (Enter).
This will move the point 2000mm above the ground plane.
Alternatively right click on the point and select Properties.
In the Properties dialog box set the Elevation parameter to 2000 and press OK.
Repeat this step for the north-east point.
In the Sidebar press the Finish Surface button to rebuild the surface.
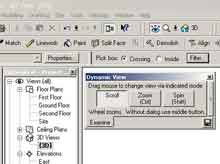
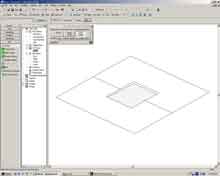
This process will create a sloped site. We will have look at the 3D view to see what our site looks like from all angles. In the project browser click on the 3D view category then on {3D} to open the view.
By selecting the Dynamically Modify View button (shown below) the 3-dimensional view can zoomed, spun or scrolled through.

Alternatively by holding down SHIFT and pressing the right mouse button the view will be rotated.
If you have a scroll-wheel mouse the view can be zoomed in and out by rolling the scroll-wheel.
Panning can be achieved by pressing down on the scroll-wheel and moving the mouse.
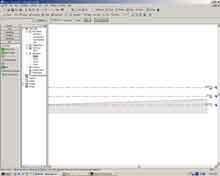
After you've had some fun spinning and zooming around your site open the East Elevation. To open the East Elevation double-click the East view in the Elevations category of the Project Browser.
Notice how the elevation has section lines defined whilst thunt graphic system is used for 2-dimensional views. This allows complex 2-dimensional plan, elevation and sectional views whilst not burdening the generation of 3-dimensional models. If you have had any experience with solids based CAD systems this feature will come as welcome news.
With the basic section defined let's build a foundation slab for the building.
In the Project Browser open the Site plan.
In the Site sidebar select the Pad tool.
The Pad object is very similar to a Floor object. The primary difference is that it has a direct relationship with the Site. A Pad object will automatically modify the site typology to ensure it is open to the air above. A Floor object has no defined relationships with the Site and hence no automatic modifications to the site will occur. This might sound confusing at first but on working through this section you will understand what I mean.
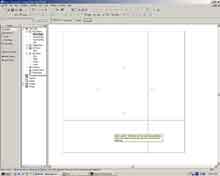
Select the Reference Plane tool and place a Reference Plane from the south-west site boundary point to the south-east site boundary point.
Place another Reference Plane object from the south-east boundary point to the north-east boundary point.
You should now have Reference Planes along the bottom and right hand edges of the site. These two reference planes will enable us to take dimensions from the boundary.
Select the Reference Plane tool and move the pointer over the southern Reference Plane.
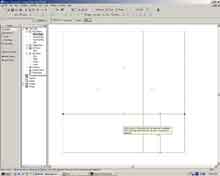
Click anywhere on the southern boundary. Move the pointer up to the northern boundary. Ensure the new Reference Line is vertical and click again to place it.
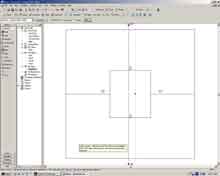
Repeat the process but make a horizontal line from the eastern perimeter to the west. You should have something similar to this once you have finished:
Now accurately position the reference planes. With the Modify tool select the new horizontal reference plane. Click on the dimension text box between it and the southern boundary line and type 19000 (Enter).
Repeat the above process for the vertical reference plane so that it is 20500mm from the eastern perimeter. The intersection of these two reference planes will be the origin of the foundation slab.
From the Sidebar select the Lines tool.
In the line options toolbar click the Chain toolbox to create a series of linked lines.
Begin the line by clicking on the intersection of the two reference planes. The Lines tool will automatically snap to this intersection as you move your pointer near it.
Extend the line vertically by moving the pointer upwards. When the length of the line reads 22000 left click once to place the end-point of the line.
Move the pointer directly to the left until the length of the new line reads 19200 and click once.
Move the cursor straight down to the reference line and click again.
Finally move the pointer back to the intersection of the reference lines and click once more.
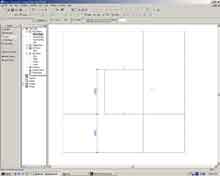
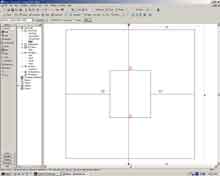
The profile for the pad should be complete and look the same as the illustration below. To stop constructing lines press the ESC key or right-click and in the popup menu select -> Cancel.
Select Pad Properties from the Sidebar.
In the dialog set the Level parameter to Ground Floor.
The secret to successfully using Revit is the ability to create custom objects. To define the thickness and materiality of the slab we will create a new object definition to describe these properties. It may sound daunting at first but in Revit this is very easy.
In the dialog under the Type heading press the Edit/New button.
A new dialog will appear as shown below.
We do not want to edit the properties of the Default Slab object but rather create a new custom object just for this project. To do so press the Duplicate button.
In the name field type: Concrete Pad (Enter)
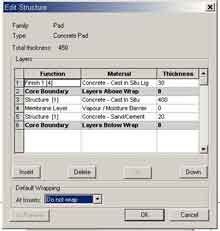
The object definition for the new Concrete Pad object will be displayed in the dialog box. Edit the materiality and thickness of the object by pressing the Edit button in the Structure field.
Set the Structure properties of your new object to the ones shown in the above screenshot. To do so use the Insert and Delete buttons. To modify the type and thickness of each material click in the field you wish to enter and type the value or select from a dropdown list.
With the Structure settings the same as shown above press the OK button.
Set the Coarse Fill parameter to Concrete and press OK to complete the object description.
Ensure the Type field is set to Concrete Pad and press OK to close the Pad Properties dialog.
Press the Finish Sketch button in the Sidebar to build the concrete pad.
Notice how the site has been modified to accommodate the construction the the concrete pad.
We will create a sectional view through the site to aid in the construction of the model.
Open the Site view from the Floor Plans category of the Project Browser.
In the Basics Sidebar select the Section tool.
Click on the top middle of the screen once. Move the pointer vertically down to the bottom of the screen and click again.
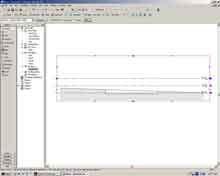
A new Section object will be created as shown below:
The dotted lines extended from the Section object controls what is visible in the sectional view. For those accustomed to AutoCAD think of this as the 'Clipping Plane'. By dragging dashed box out to cover the site the entire visible model will appear in the sectional view. Likewise by dragging the view box next to the Section object only a small slither of the model will appear in the sectional view.
The two horizontal dashed lines control what is visible in the sectional view along the Section object. Using these two lines all or only part of your model can be displayed in the sectional view. This can be helpful when designing construction details.
Click and drag the blue dot of the section clipping plane to the far right hand side of the model as shown below:
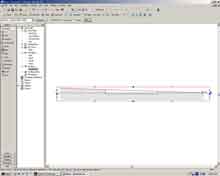
Open the sectioned view in the Sections category of the Project Browser. There should be only one sectional view in the Sections category at the moment.
The red box around the model defines what is visible in the view. As we want to see our entire model in this view click and drag the vertical line up to expose the first and second floors.
With our section defined I'll try to illustrate the potential of object modeling within Revit. The result will not be impressive but the underlying principle has tremendous potential!
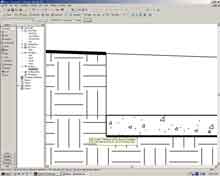
Click the zoom tool at the top of the screen. Drag a zoom box over the left corner of the foundation so that you get a view like the following:
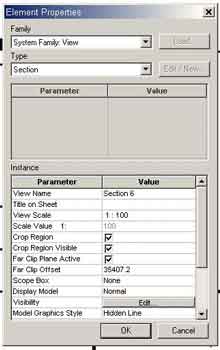
Revit can display the object model in a number of different ways, from simple diagrammatic views to complex structural layouts. Viewing options are controlled by the View Properties dialog box.
Open the View Properties box by either:
|
Within this dialog it is possible to set the name, scale, and detail level of the view.
In the View Properties of the section view the following:
View Name: Section AA
Detail Level: CoarseThe Detail Level parameter controls the complexity of the displayed geometry. A detail level of Coarse displays only basic forms whilst Fine shows more detail.
Press OK
Nothing about your view should change apart from its name.
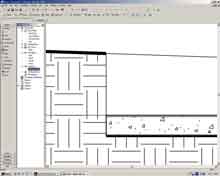
Bring up the View Properties dialog again and set the Detail Level to Fine.
Press OK to close the dialog box and take a look at your view..


